PaTMa is the simplest way to track all your landlord finances and comes complete with a tax return report to help with your self assessment.
This article is part of a series guiding you from an empty account, entering all the data required, to PaTMa calculating your landlord tax return figures.
You can find the other parts here:
Part 1 - Creating your properties (this post)
Part 2 - Adding tenancies and adjusting to ignore the past
Part 3 - Recording rent payments
Part 4 - Recording mortgage interest
Part 5 - Recording other expenses
Part 6 - Generate and check your tax figures
What you'll get
By the end of this article you'll have created basic entries for each of the properties in your portfolio and be ready to start recording tenancy details.
What you need
- The address of each of your rental properties
- (optional) your purchase date and price
- (optional) a photo of each property
What to do
If you don't already have a PaTMa account...
Once you have an account, visit your property listing page (it will be mostly empty) to get started.
You can click the "Add Property" link near the top right of the page, or if it's your first property the "first property" link in the blue box. You'll then be presented with the following form:
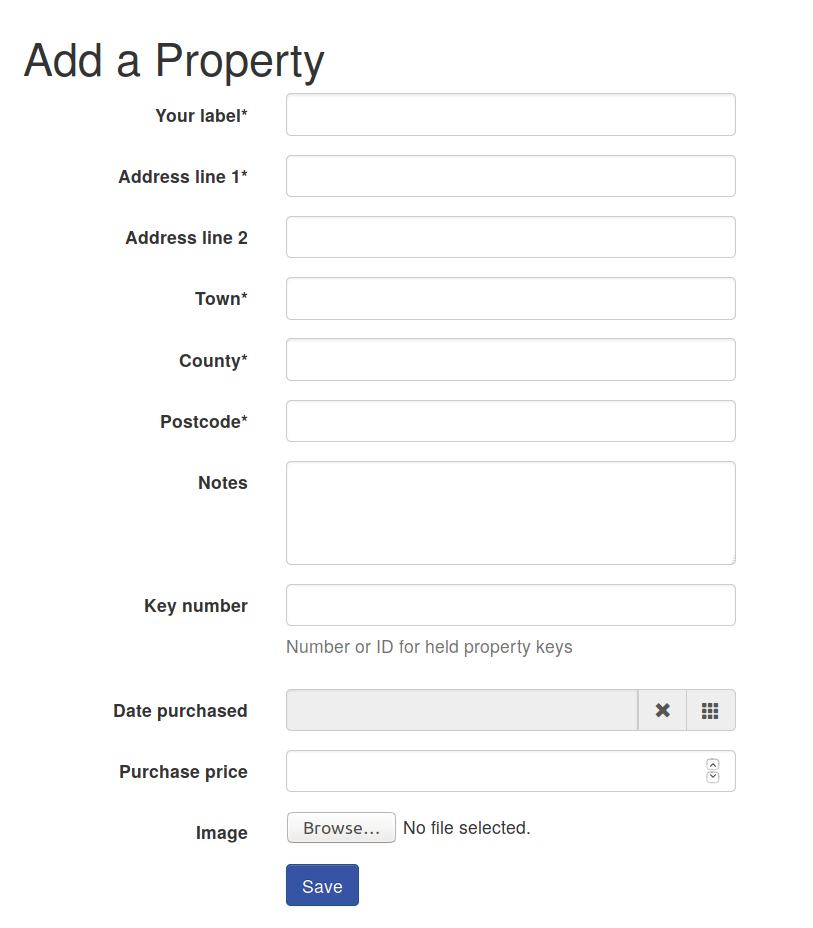
This is the only form you need to complete to add a property with basic details and only five of the fields are required.
You need to choose a label for your property (re-using the first line of the address is probably a good option if you're not sure). Then enter the standard address details (first line, town, county and postcode are all that's needed).
Optionally you can add any miscellaneous notes about the property and the ID you use to label keys for the property.
There are also two optional fields for recording some purchase information, namely the date and price. These aren't used in your landlord tax return calculations but can improve some of the other statistics PaTMa can provide you about your portfolio.
The last field is for a photo of the house. This is optional but uploading one will probably make it easier for you to identify the property in your listing.
Having entered all the details you want to, click on the "Save" button at the bottom to record your property.
You'll see the new property shown in your list, a bit like this:
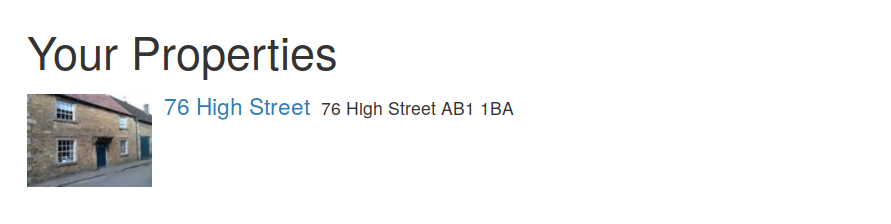
If you're fortunate enough to have a portfolio of properties, click the "Add Property" link near the top right of the listing page and repeat the above process for each property.
When your whole property portfolio is listed you're ready to start entering tenancy details.
What next
With your basic property details recorded, next up is entering tenancy details.